Step by Step Instruction pictures
Pictures - Winter version / To use Batting- October to March/April
Summer Version / To use Double Gauze - May to September
 |
Cut Gauze and Winter -Batting / Summer - Double gauze
5.5"x 10" |
 |
Place the gauze on Batting and fold in half,
put the mask plate on top of it. |
 |
| Sew the curve line. |
 |
| Use the rotary cutter and cut it out. |
 |
| Use the scissor and cut the curve part. |
 |
Cut the outside fabric, 1/2" seam allowance,
and face the right side of the fabrics. |
 |
| Trace the mask template on the back of the fabric. |
 |
| Sew the curve line, both ends - double stitches! |
 |
| Sew tapes on the end of the mask. |
 |
Iron the mask and fold 1/4" top and bottom and press by iron.
Then place the pad on the back of the mask. |
 |
Fold the seam two and pins or press by the iron
and sew both sides. |
 |
| Pulling and sew to the end. |
 |
| Fold the tapes two on the back of the mask and sew. |
 |
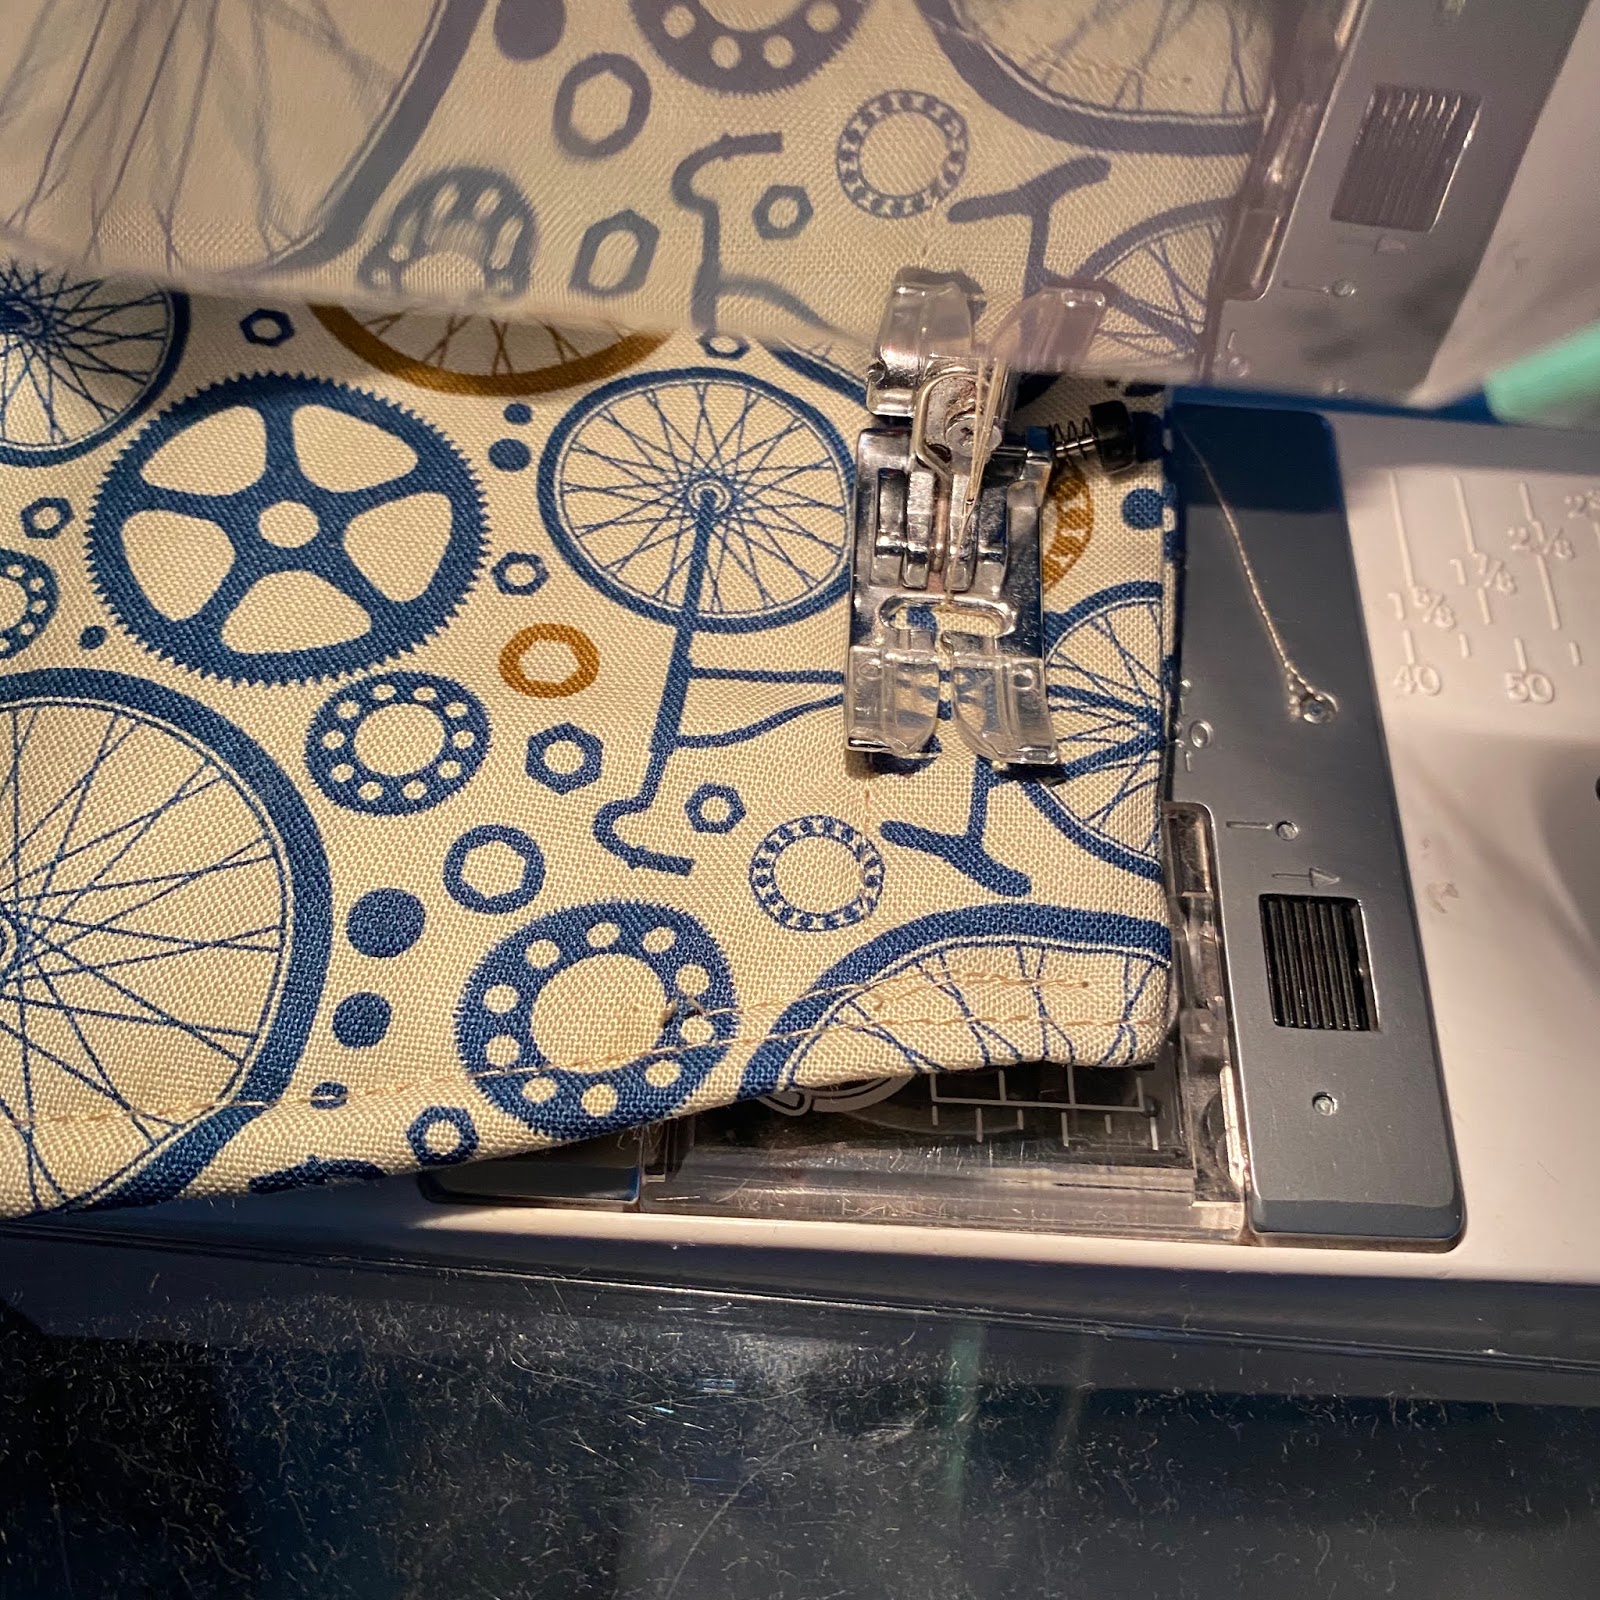
| Sew one more line 1/4" from the first stitch line. |
 |
| The picture of the finished Back |
 |
| The picture of the finished Front |
 |
| Use the safety pin for the elastic band. |
 |
Tie the elastic band for your size and tie part should place
into the mask loop. |
 |
| I hope these pictures cove my poor instruction below. :) |
|
|
|


No comments:
Post a Comment